
How to care for and remove your individual Russian volume eyelash extensions at home
10 April 2019, 12:49

Heart's Beauty Editor Nicola Bonn recently had her first set of individual lash extensions. Here's her guide to taking care of them and removing them in the comfort of your own home.
I wasn't sure about the whole eyelash extension thing.
I'd heard too many horror stories about women having them done only to feel like they'd lost half of their eyelashes once they were removed.
A lot of people forget what their real lashes look like as they get so used to the extensions and get a bit of a shock once they go back to their usual look.
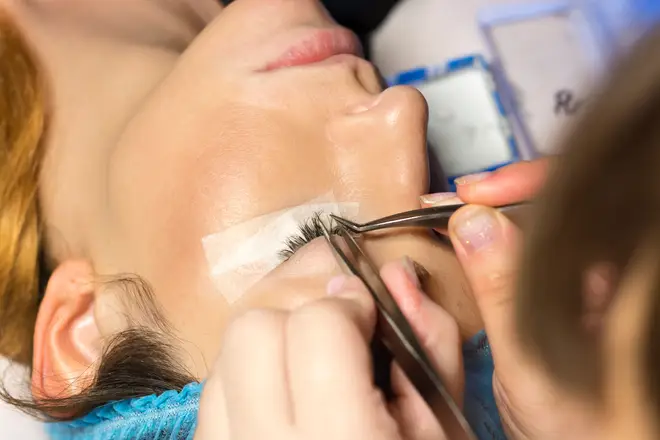
However, I decided to make up my own mind, and booked in for a full set of Russian volume lashes - when up to 7 fake individual lashes are carefully glued on to your natural lash - with 'London's Lash Queen' Daxita.
After an hour and a bit of her painstakingly gluing tiny clumps of Russian lashes to my own stumpy ones, I was greeted in the mirror by a very glamorous reflection.
I wasn't wearing any other makeup, but the lashes somehow lifted my complexion and made me feel ready for anything.
The lashes were incredible, I got so many compliments and they definitely made me feel confident. However there were definitely a few rules that needed following and a few things that I learnt while I had them.
1. It will take a little bit of time to get used to them.
I found them quite uncomfortable at first, particularly when I closed my eyes tightly when I was in the shower. You do get used to them after a few days though
2. You can't cleanse as usual
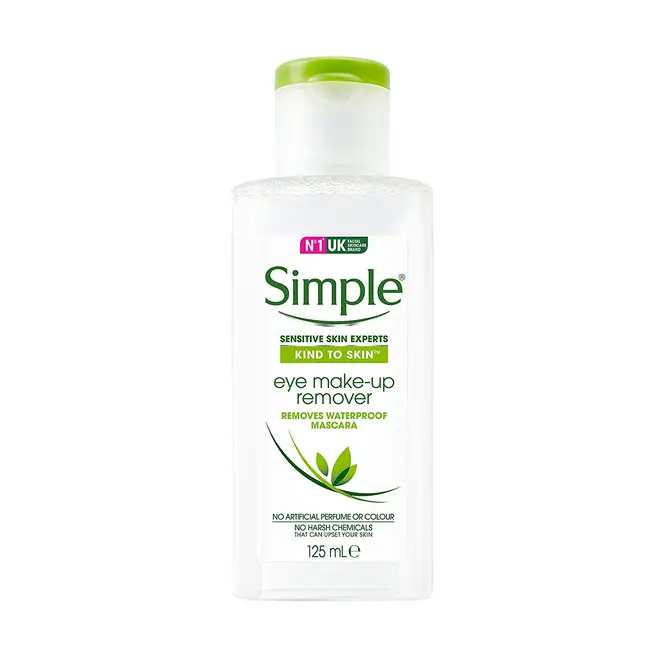
You need to use an oil free makeup remover (I recommend this one) with them as anything that contains oil will weaken the glue that bonds the extensions to your natural lashes.
Saturate a cotton wool disc with the remover and gently wipe around the eyes to remove eyeshadow and liner etc. (You shouldn't need mascara).
3. You need to groom them
Every morning and evening make sure you gently comb your lashes in a downwards motion with a mascara style brush. Your beautician should supply you with one when you have them done
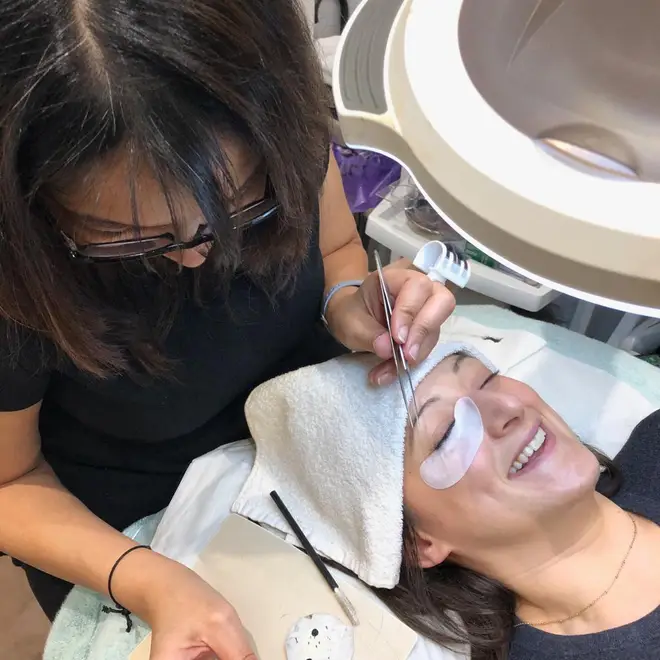
4. Make sure you see someone experienced
You are having work done and products used in the area around your eye. It's really important that your beautician is experienced and trustworthy.
Never be afraid to ask questions before you commit to having this or any other beauty treatment, however obvious you think they may be.
5. Don't fiddle with them
Some of the lashes might sit at an odd angle (you should be able to sort this with some light brushing (See point 3). Whatever you do , DON'T TRY AND PULL THEM OUT.
By doing this you'll also be removing your own lashes and the last thing you want at the end of all this is big bald patches.
6. Get them removed professionally or.....
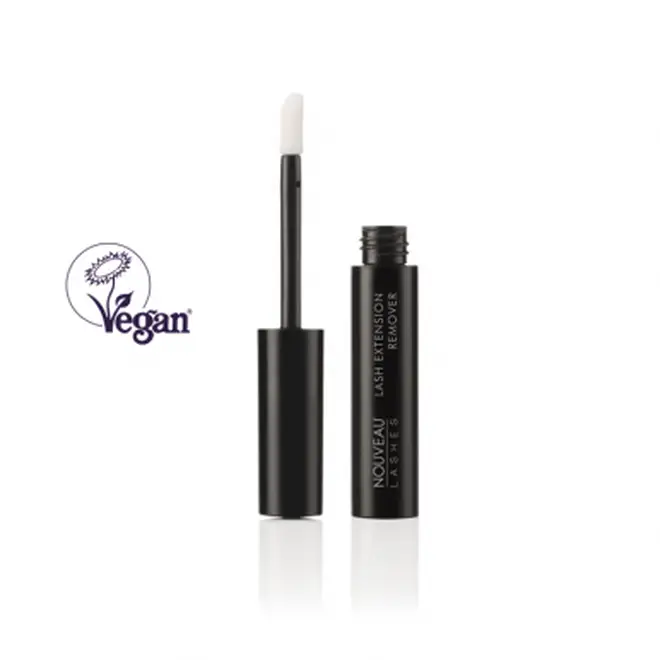
7. ......VERY carefully remove them with a home kit
I used this one from Nouveau Lashes. It took a few tries but it did work in the end. Just be really gentle and careful
8. Aftercare is key
Once you've removed your lashes I recommend using a conditioning treatment to keep them strong and healthy. Many people swear by Revitalash.
I also recommend having a break otherwise you will get into a rut of being scared to go without them and that's a very expensive rut to get in to.

You can follow Nicola here on Instagram and make sure you give The Outspoken Beauty Podcast a listen for all the best beauty advice and guests.