On Air Now
Saturday Breakfast with JK & Kelly Brook 9am - 12pm
19 May 2020, 13:02
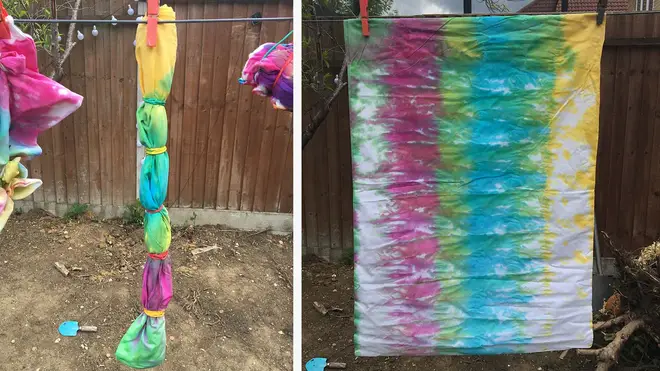
Unlike most trends that you need a trip to the shops to get involved in, all you need for tie-dyeing is something white, at least one colour of fabric dye, and some rubber bands or string.
It looks like tie-dyeing is going to be a lockdown skill that a LOT of us re-enter normal life with - but how do you do it?
Synonymous with hippies and the 1980s, tie-dyeing is a way of colouring fabric in one or more colours but with a mottled, dappled, or ombre effect.
No two dyes are the same, and despite luxury fashion brands charging huge sums for their brightly coloured wares, it's surprisingly easy to do - and cheap.
Eager to give myself a break from my usual lockdown routine, I decided to give it a go myself - and now I'm frantically looking for more things to dye, it is addictive.
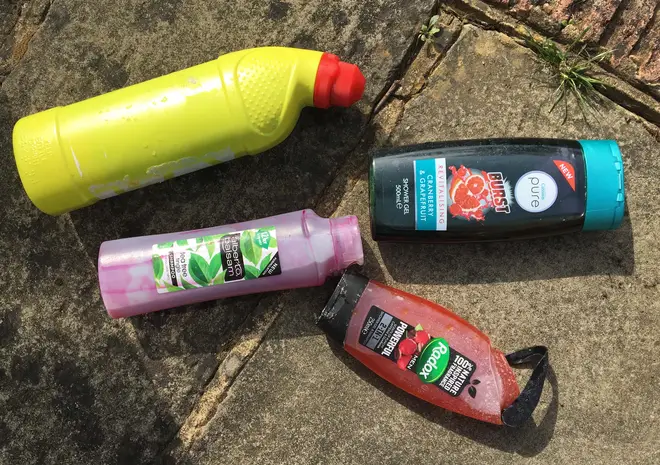
I used blue, green, pink and yellow hand dyes from Dylon, and as I didn't have any of the fancy squirty bottles typically used, improvised with empty shampoo and shower gel bottles, thoroughly washed out. An empty bleach bottle ended up being the best option as it has an easily aimed nozzle.
I also used just a couple of teaspoons of Dylon in each bottle rather than the whole sachet, and there was loads left over.
Read more: How to transform clothes using ice-dyeing
A few things to remember before you get started:
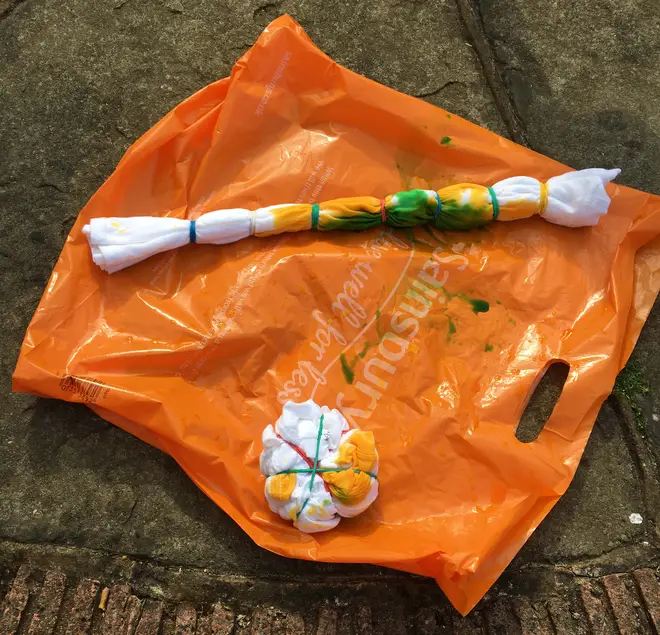
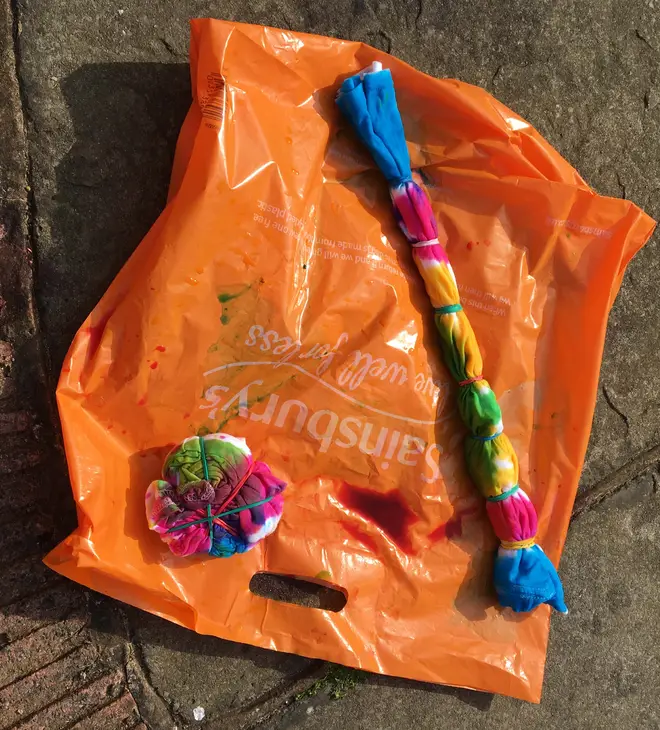
Take time folding, tying or bunching/bundling up your fabric, these are what will create your unique tie-dye patter, as the folds prevent the colour reaching certain areas of the fabric, creating white or lighter areas.
Remember that each fold or tie will create a line in the fabric. Narrow folds or bundles mean a smaller pattern, and vice versa.
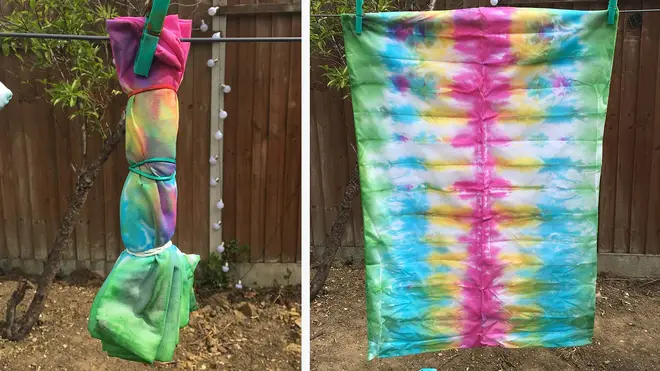
Create geometric patterns and stripes by creasing and folding the fabric, and don't be afraid to fold more than once.
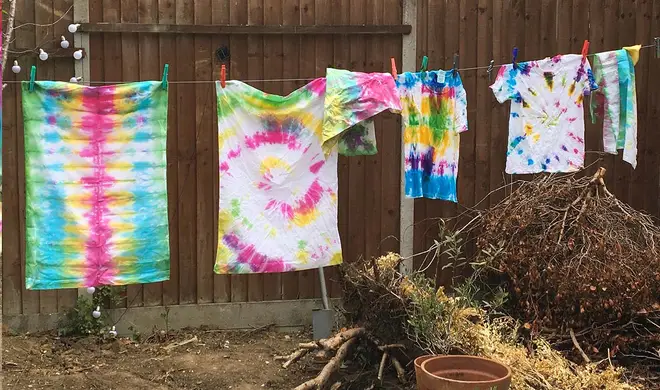
Spirals and more dream-like patterns are made from scrunching or twisting the fabric.
Make sure your rubber bands or string is tied as tightly as possible.
Choose your colours wisely. Two colours near one another will create a new colour - and this is where your primary school art lessons about primary and secondary colours, and colour wheels come in to use!
It's a MESSY activity - take it outside if possible, wear gloves, and protect patios or tables from dye using a plastic sheet or carrier bag.
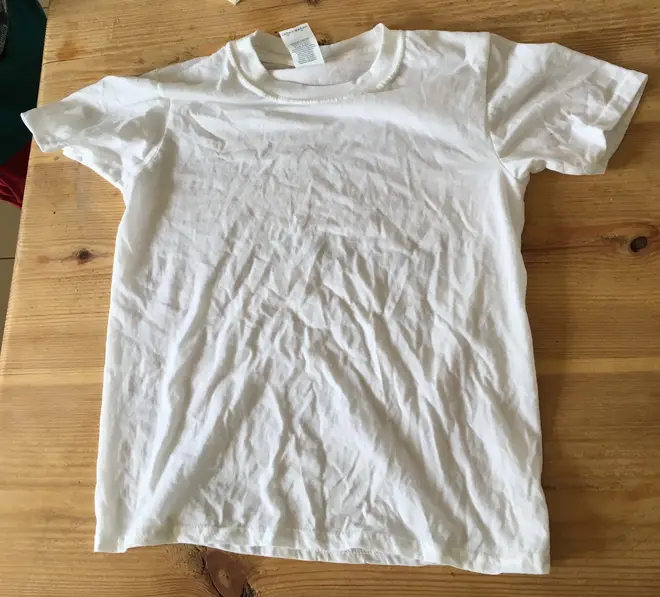
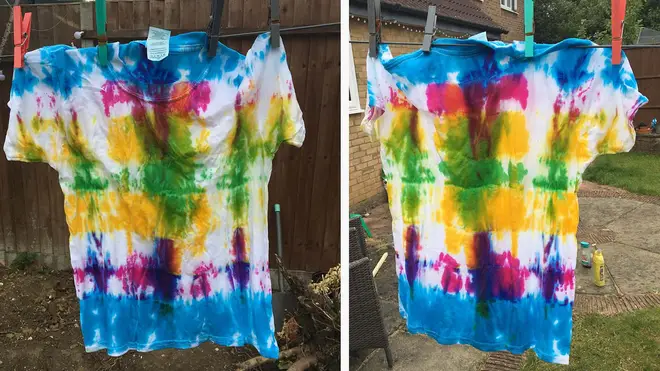
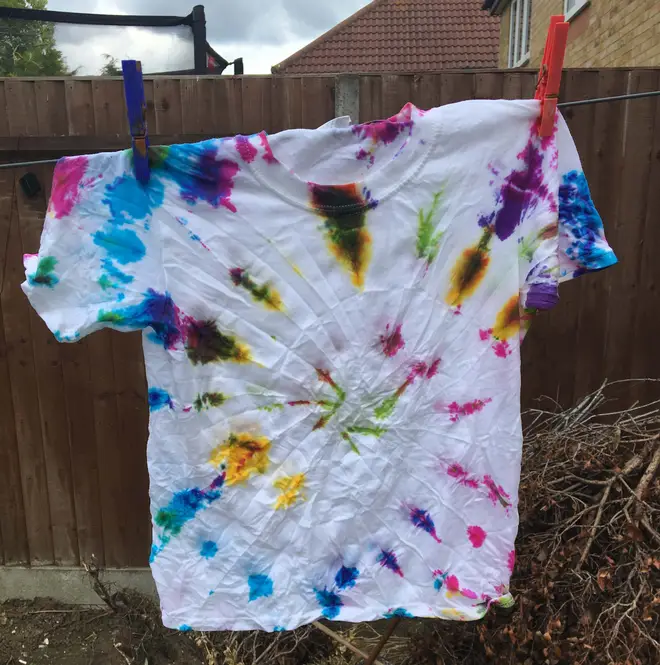
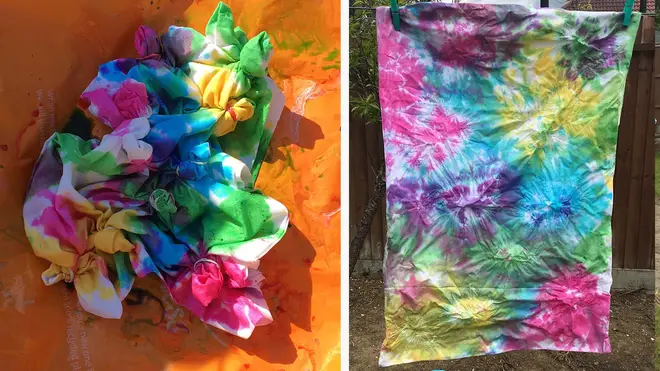
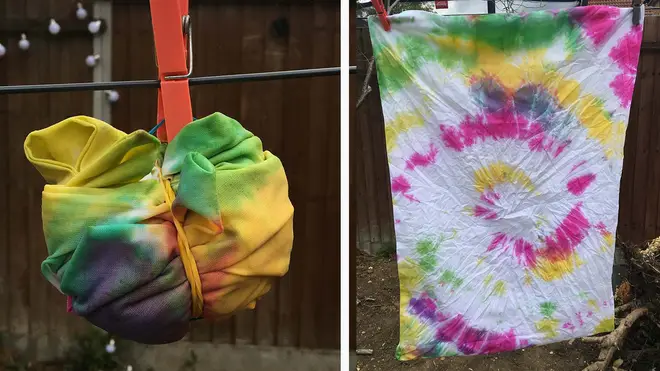
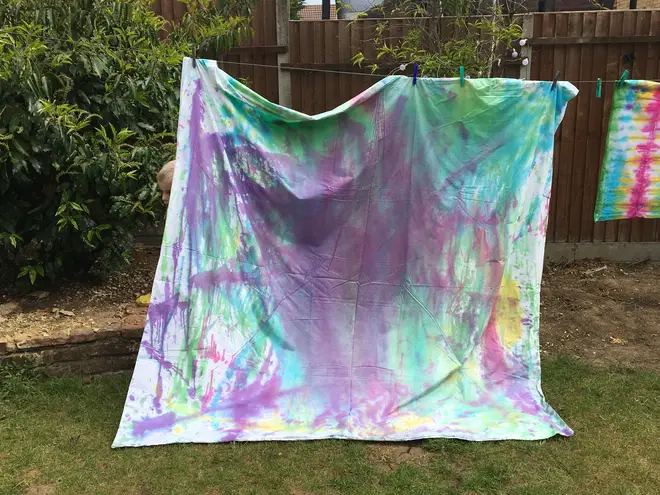
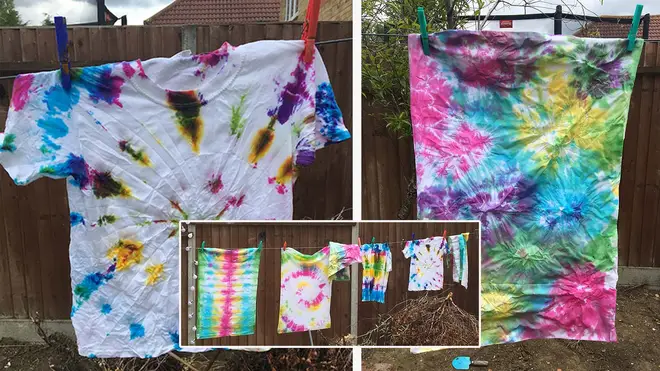
The photos below show two methods for dyeing a white T-shirt using four different colours.
After the dyeing, they were left to dry overnight on the washing line.
After they were unfurled, they were rinsed in cold water until the water ran clear, and then in hot water, before going in the wash.
Then they were ready to use!
